Dear Diary - a rolling 4 months of comment
A shout out for Entoyment
With the re-basing plans for my Wars of the Roses archers, I will need to paint around 30 new figures.
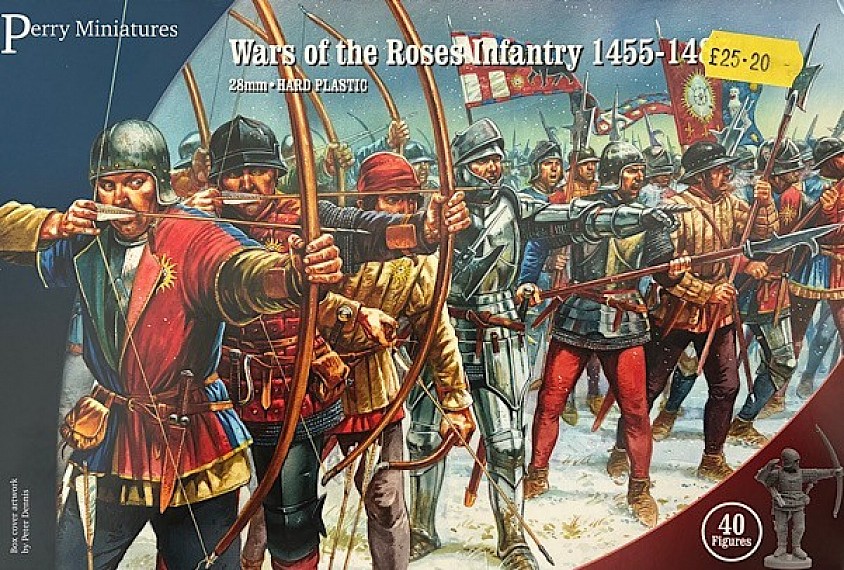
The stash has got low, so an order for a box of Perry plastic Wars of the Roses 28mm infantry was needed. I was also struck that now there isn't a place within a drivable distance that I can visit to buy these sort of things!
Anyway an internet search picked up the Entoyment Wargaming and Hobby Centre, which I believe is a well stock retail unit in Poole (UK), that also has gaming tables etc.
They had a good price (£25.20) on the box set, the postage was fine for tracked, but what surprised me most was that I internet ordered around 1 PM and got an e-mail back at around 3 PM to say that the purchase had been packed and was ready to go with Royal Mail!
Based on that, if you are wanting something pronto, they seem a good go to.
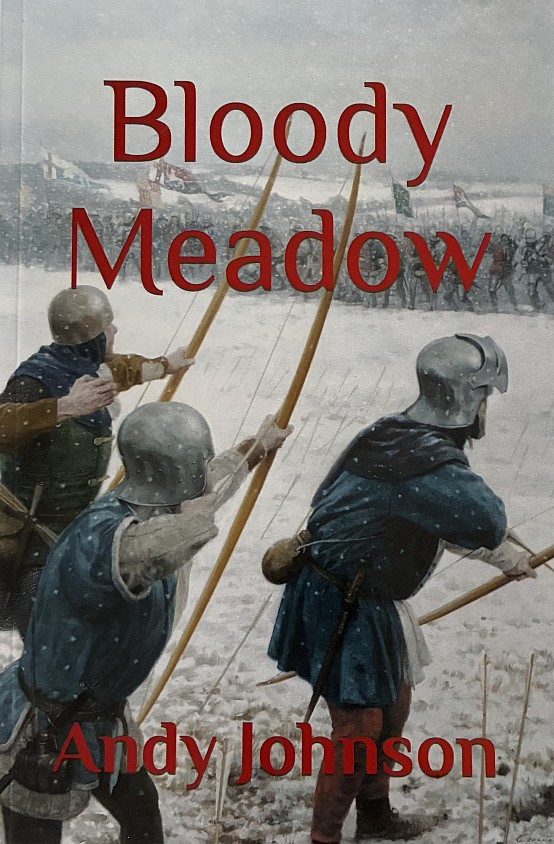
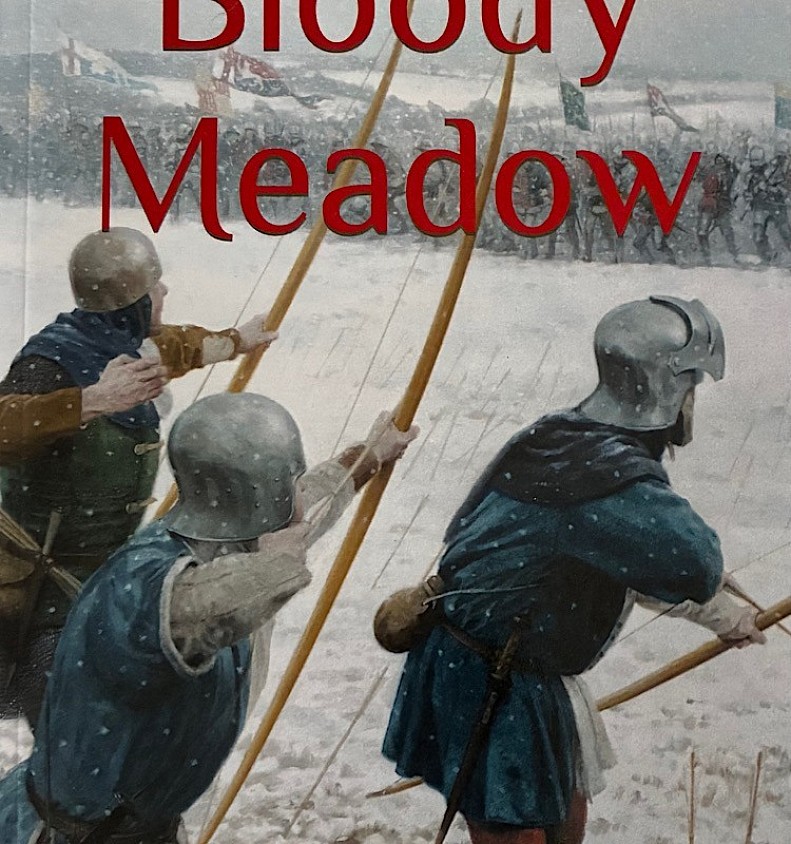
A good read, Bloody Meadow.
Covering the Battle of Towton 1461 and the Ferrybridge action the previous day, Bloody Meadow is a work of fiction; a dramatisation of historical events. Authored by Andy Johnson and published in 2023, as a publisher is not identified, I assume this may be a self-published book.
I picked up my signed copy from the author at the Partizan Wargame Show in May 2026. The show has a Writer’s Corner and three authors had attended.
From the first page, I was enthralled by this page turner. It begins with the account of Ferrybridge, a series of ongoing actions the previous day to the main Towton battle.
It is an easy read that gives a vivid account of the action and gives voice to not only some of the main participants, but of the common soldier such as Jack and Sim, together with their captains.
At various points in the story, I checked back to some of my sources and found the factual part of the story to be strong.
I am presently getting my Wars of the Roses wargame armies back to the table and have just adopted a new set of rules that I am quite taken by. Those rules have a Ferrybridge and Towton scenarios and when putting Ferrybridge game onto the table, I found myself reading the gameplay in the language of the book - that is, having read the book, a mental picture of character and the feel of actual battle, through the vivid nature of Johnson’s writing, allows what is going on in the game to hang off that.
I am about to read The Wars of the Roses, Volume 1, The Triumph of York 1455-1461, published by Helion and I imagine the same will be true, with the text of one enhancing the text of the other.
One of the debatable things about the fighting in the Wars of the Roses is how archers were deployed. Bodies of men would arrive at the battlefield supplied by the various magnates and towns etc, but we are not sure to the degree that archers were separated out from billmen and whether they fought as separate entities or in close association with their own community.
Towton itself clearly opened as an archers battle and the text usefully describes how archers under their captains would be placed out in front of their respective armies and at a given point would retire behind the bill, once the close quarter fighting was about to begin, but there might then be a more confused picture as gaps threatened in the line and archers were pressed back into service.
The fighting along the front line is vividly described, it was brutal and arms, armour and military experience mattered. The fight was exhausting and men would need to be rotated out of the line for rest, while all the time trying not to slip on the muddy, bloody and body-strewn battlefield.
It was a brutal affair with blade going through bone and all manner of flesh being exposed and clothing covered with the blood and flesh of others.
At the top of this were the men of power and influence, often driven by revenge for the earlier loss of a brother or father, seeking out particular enemy banners of those held responsible or that simple knowledge that they had pinned their colours to one side or the other and if they lost, they would almost certainly be executed and their lands taken.
At the other end was the common soldiery, there just because they were obligated to their immediate hierarchy, pressed into service and once fighting, literally pressed into the press of men that were hacking away at each other.
The battle itself is noted for having been the largest on British soil, together with having the highest casualty rate, fought on a freezing winter's day, when snow blizzards were cutting vision down and commanders could not see what was unfolding and the ground thick with churned up mud. There is so much material here to weave into a cohesive story and Johnson has done a very good job.
The air seemed to be alive with arrows, slicing without pause into the tightly packed column - page 9
Lord Grey was amongst the assembly, his banner sporting the black ragged staff, as were Lords Scrope, Clinton and Audley - page 41
The bouchier family were well represented along with knights such as Sir William Herbert and Sir Walter Devereux and of course Warwick’s old favourite, Sir John Conyers.
As the enemy billman dropped down heavily onto one knee, the man-at-arms to Conner’s right, smashed him over the head with his own war axe - page 97
The crest and upper slope of the Ridgeline was a carpet of dead and dying men, several thousand of them already - page 99
“At the sound of three trumpet blasts, begin the advance” - page 119
Having fought to the point of exhaustion, one side or the other must give this time - page 127
“Chase them down!” He roared again, then, looking back over his shoulder, “horses forwards! Get the horses forward! Ride them down, Start the pursuit! Let none of them escape!” - 145
Whilst others were simply pushed over and trampled by their comrades, who were fighting desperately to escape - page 155
A nice find
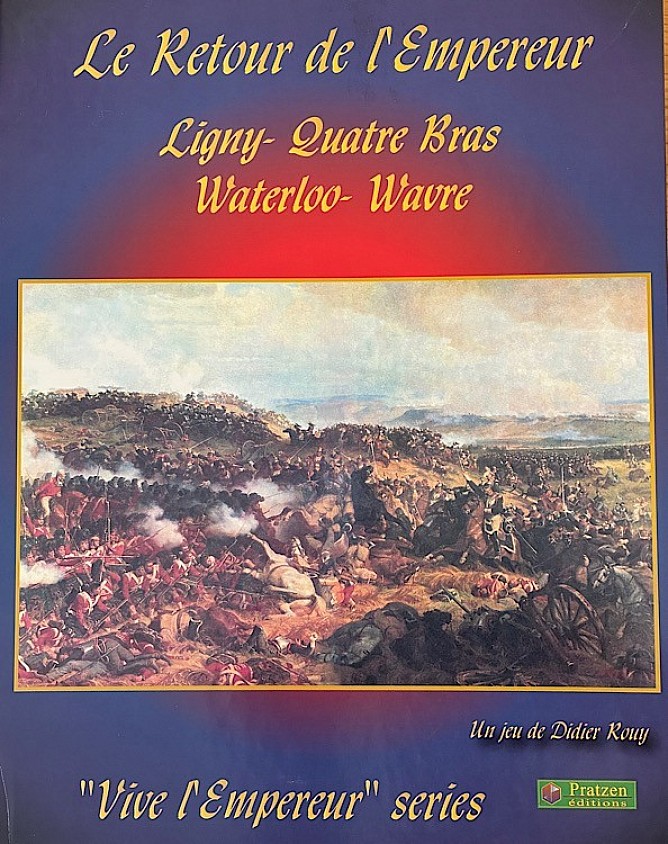
I have started to collect the Vive l'Empereur boardgames series, designed by Didier Rouy. It deals with large Napoleonic battles 1805 - 1815.
Waterloo was published in 2011 and I suppose it could be described as a slow burn series as it seems to take a while for a title to come to print and on the back of that there seems to be a reluctance to go back and reprint the older titles, because the new stuff is taking the focus (Wagram is about to be released by Legion Games).
So as someone a little late to the party I feel quite fortunate that I have come across the Waterloo set at a kind price.
This package covers the Ligny - Quatre Bras - Wavre and Waterloo actions across 30 scenarios, which include 'What if's' and the campaign game.
The package is presented by 6 maps, scaled at 250 metres to the hex. It is a very visual series, the map has large hexes that accommodate the oblong shaped counters that allow the units to be represented in either column or line.
Waterloo packages have cropped up quite regularly over the years and as I grab them, I typically play the smaller Quatre Bras first as it is often the easiest to get to the table and so it will be here..... soon to be seizing Gemioncourt and pushing onto the crossroads!
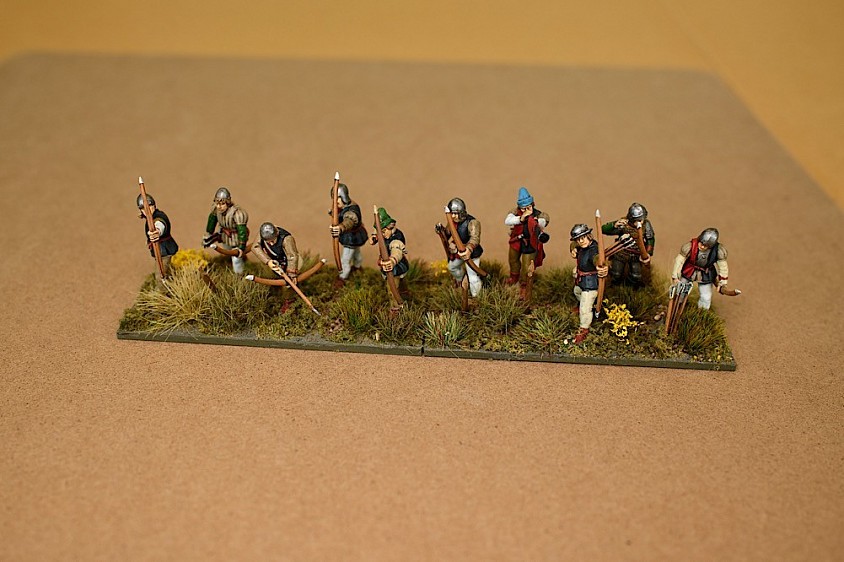
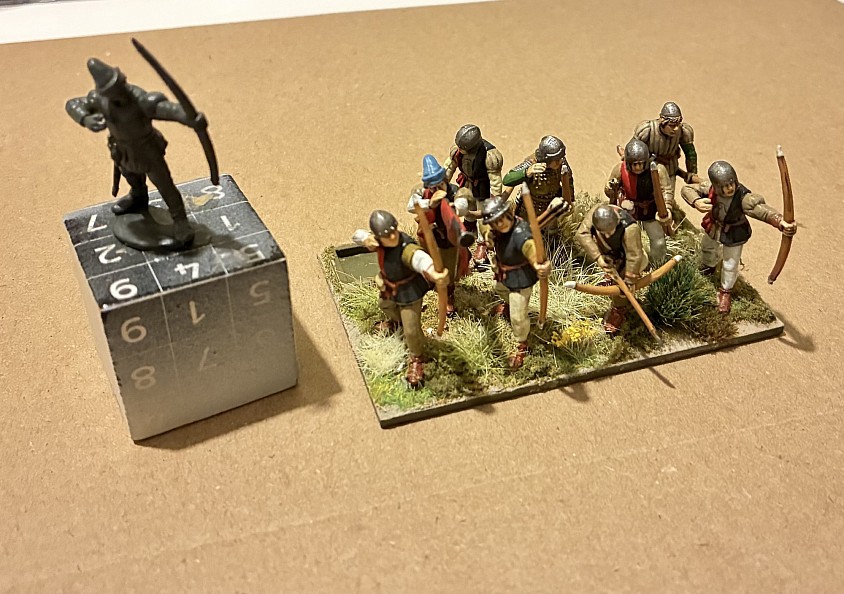
Rebased archers
A few posts below, I discussed the proposed re-basing of the Wars of the Roses longbow bases and the first example is now done.
These were Lord Percy's archers (Northumberland) and so had tunic colours of red / black. They were a group of 9 figures on an 80x50 base and since I need two bases per archer company in Test of Resolve rules, I was cycling through my archer collection of old sized bases pretty quickly, leaving me unable to do the medium to bigger scenarios.
I have decided per unit to go with 2 x 80mm bases, a bit shallower at 40mm and just having 5 figures per base (10 per unit).
So as I come to deal with each old base of 7 - 9 figures, I will need to paint 1 - 3 new figures to stretch things to a 10 figure unit.
If you look at the photo a few posts back and then the photo here, you will see the difference at a glance.
The task took longer than I thought, several hours, just to convert 1 base!
I actually prefer the more linear, less densely packed look of the new unit.
I took the opportunity to remove the die tray at the back of the old base and to add a few sharpened stakes along the line - not immediately obvious, but they reveal themselves when you stare into the base.
For my billmen, rather than re-basing, I am just using one 80 x 60mm base instead of two bases, one behind the other. This is hugely more economical and the formations do not look like they are in column, so I'm glad I took my time thinking about this instead of racing at it.
Archer conversion
For the re-basing that I will be doing for the archers, I will need between 1 - 3 newly built and painted figures per new two-based unit.
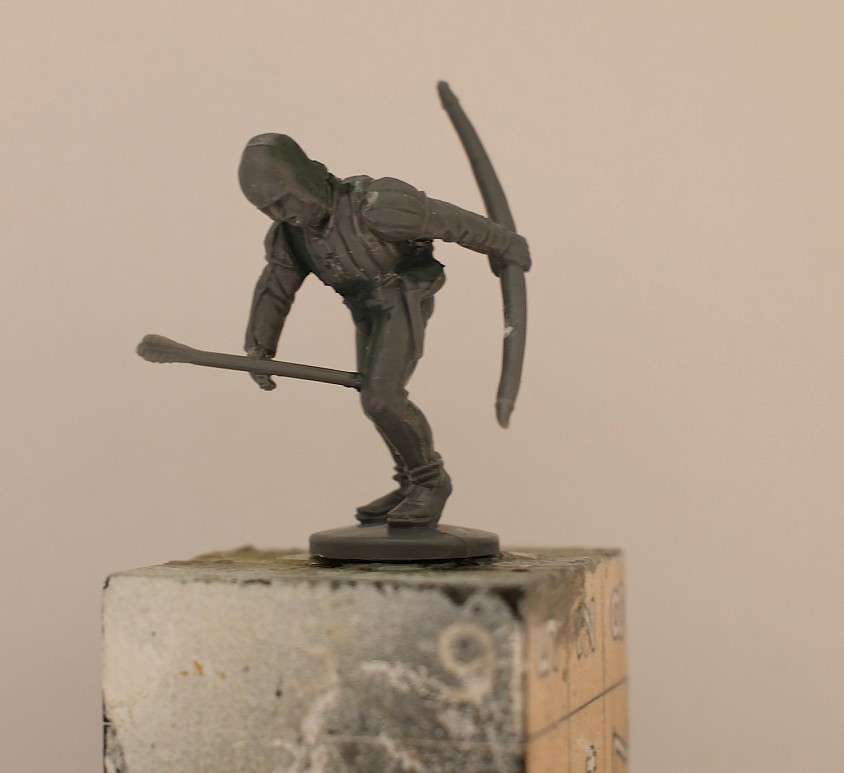
This afternoon I cut and built some more plastic Perry archer parts from the sprue and decided to have a go at doing a conversion for a wounded man.
This figure was upright to start with. A razor saw cut him in half and then with a knife the plastic around the midriff was cut away to effectively give a 'V' shape cut to the belly, so when glued back together, he was leaning / tumbling forwards.
A small hole was drilled above his left knee to take the arrow.
The rest of the parts came from the sprue without modification. The arrow was cut from the 'arrow clump' that you get, an extended right arm was added to reach for the arrow shaft and the left arm carries the bow thrown rearwards as he tries to keep his balance.
The head is obviously bowed forwards and I chose one with a face that had the mouth open, as no doubt he will be calling out in pain or swearing at the enemy archers!
Finally a bit of Liquid Green was used on some joins to hide any gaps, plus there were two annoying sink holes in the helmet that needed filling.
Next job is to prime him and then decide whose force he will join. Lord Stanley's archers are a favourite of mine and will be done next, so perhaps he will join them!
Fighting for Ferrybridge 1461
The day before the Battle of Towton, there was a running minor action at Ferrybridge.
The Test & Resolve scenario book nicely divides that into three separate actions, which I have dipped my toe into and given some observations over on the Battlefields & warrior Blog.
Link
https://battlefieldswarriors.blogspot.com/2026/07/battle-of-ferrybridge-parts-i-ii-and-ii.html
re-base plan ... archers
My current archer bases are mostly 7 figures strong, though the one shown here has 9.
The Test of Resolve rules have archer units in WIDE formation, so they must be formed by two bases and that is proving too impactive on my collection, so I am rebasing to ease that problem.
I will turn each single base into two bases by going with just 5 archer figures per base and just painting up the extra archers that are needed to grow the original base figures number to 10.
Shown here are a contingent of Lord Percy's (Northumberland) archers. There are 9 figures so to grow this unit, I only need one more, which I primed last night.
The old bases are 80 x 50mm; the new will be 80 x 40, so I am hoping that there will still be a 'presence', and that the fewer archers will actually look more naturally spaced, giving them room to draw their bow and being a slightly less dense pack when facing enemy arrows—something that I was reading about last night.
My only concern at the moment is in re-basing plastics; I glued this down for life! and can only hope that separating them from their bases will not cause damage.
I will use the opportunity to get rid of the dice frame at the rear of the base. I have generally found these awkward to manage with not enough room for sausage fingers!
By slowly going through the bases, painting as I go, hopefully the task will not get too onerous and over time more of the bigger scenarios can be played.
Towton Reading
When the opening line to chapter 1 is 'It was a shitty day', one is inclined to do a double take on a historical based novel!
Bloody Meadow by Andy Johnson is a fact-based story on the Battle of Towton 1461. My interest in archery for the Wars of the Roses has brought this to the top of my reading list.
I picked up my signed copy from the author at the Partizan (UK) wargame show.
The opening chapter is post Battle of Wakefield and deals with a Yorkist ambush of Lord Clifford with the resulting death of said Lord. I went to my historical sources and was pleased that the 'story' was giving a good approximation of the history.
And so as we read on, we have a grognard commander who before he meets the location where the ambush took place can smell the 'fight' from the aroma of blood and spilled guts, that he knows only too well (who would have thought!).
There are some interesting notes on the construct of the armies and at this particular battle there was hard recruiting to get the numbers up and so men, not normally used to seeing action and certainly not equipped with adequate protection for it are there ... the levy type troops and their apprehension is well described.
Anyway as we talk of Captains of archers and the bowmen being distinct from the melee troops, I think this will be a revealing read and will give something for my more studious reading to hang from.
I am just up to where the two armies assemble and my next chapter is called 'arrow storm', so I am looking forward to reading on.
Second go at Test of Resolve Rules
Got the demo scenario back onto the table and had another go with the Test of resolve rules.
Things were much more second nature, so play was a little slicker.
On the left (from the Yorkist perspective), the Yorkist archers went out of arrows and retired to behind their melee troops. Exposed to arrow fire, the Yorkist Melee units left and centre advanced to contact, forcing the opposing archers to retire to behind their melee troops and then there was a large ongoing melee between the melee troops.
By contrast on the Yorkist right, their archers stayed on the field, looking for shooting opportunities, but by pure chance the Yorkist Fire cards must have been concentrated to the lower half of the card deck and before they were reached the two End Turn cards were played.
So the narrative by this time was hectic activity on the left, but quieter on the right. I liked the way that the cards delivered this narrative and from a solo player perspective, it was helpful to have this story made out for me, as left to my own devices, both sides of the field would likely have had the same level of activity and each force would have definitely operated in full unison - that level of control removed from the player is enjoyable.
What to do about basing is occupying my thought, but I don't want to rush into a wrong decision. I had thought that the melee bases needed adjustment, but actually, the pressure on the collection is being placed on the archers as they do need two bases per company to represent the WIDE formation.
I either need to paint a lot more archers and/or reduce the number of figures on my current bases to make them go further.
Another game of The Guards Counterattack
Back on the table, this is certainly the scenario that continues to give and is nostalgically enjoyable. The Soviets won the game, taking two buildings, though paying a heavy price and a good interactive scenario for both sides.
Some of those German defensive positions are formidable, with overlapping lanes of fire, but the Soviet 6-2-8 squads can get some powerful fire groups going and really eat into those positions.
The infantry rules are very embedded in memory now, I need to return to some gun and tank actions, to firm up on those rules.
Before breakfast, the gloss varnish went onto the two Wars of the Roses figures that I painted up and inked yesterday. Having slept on the basing thing, a question has popped into my mind as to whether I should go with a 100mm base frontage (rather than 80x80) and maintain a linear look, while increasing the 'presence' of the base. Choices ..... that's the last thing I need :-)
Oh No! - might rebasing become THE summer project?
Well, I have only had one game of Test of Resolve and already I am considering a re-basing of the Wars of the Roses collection.
There are 300 figures, so I don't want to race off with this. I actually like what I have with the melee troops being on 80 x 60 bases ..... though that was encouraged by some rules that I was using several sets ago!
The 80 x 60 does the job of creating a bit of mass while also still giving the impression of a linear deployment and this is a valid consideration as to other rules that I may want to use in the future.
I am thinking of re-basing these to 80 x 80 and adding 2 - 3 extra figures to maintain the sense of mass. The main benefit and the driver for doing it is that using two of the current melee bases, one behind the other per unit, as suggested by the rules for 'mass', will overwhelm the collection and there will not be enough bases tio give a standard game with three battles per side.
I could of course stay as I am and just use 1 melee base instead of 2 per unit, but I'm not sure that these single bases say "mass" sufficiently enough to deliver the visual integrity of the game.
In any case the archer units, commonly starting the game in WIDE formation, will need two bases per unit and so they will need to be more efficiently based.
This test base will advise me of several things ...... including whether I can deconstruct the current bases without damaging the plastic figures as they were stuck down with a combination of UHU glue and No More Nails onto MDF.
The only other option is to paint another 300 figures and make up new bases to match the current ones ...... and guess what? that isn't going to happen!
This of course is the dilemma of the solo figure gamer.
A first look at Test of Resolve rules
Taking the intro scenario from the rulebook, I have worked through the engagement, highlighting some of the rules through various moments in play.
I really enjoyed my first engagement and look forward to more games.
I have put initial observations up over on the Battlefields & Warrior Blog, together with some photographs.
LINK
https://battlefieldswarriors.blogspot.com/2026/06/first-contact-test-of-resolve-rules.html
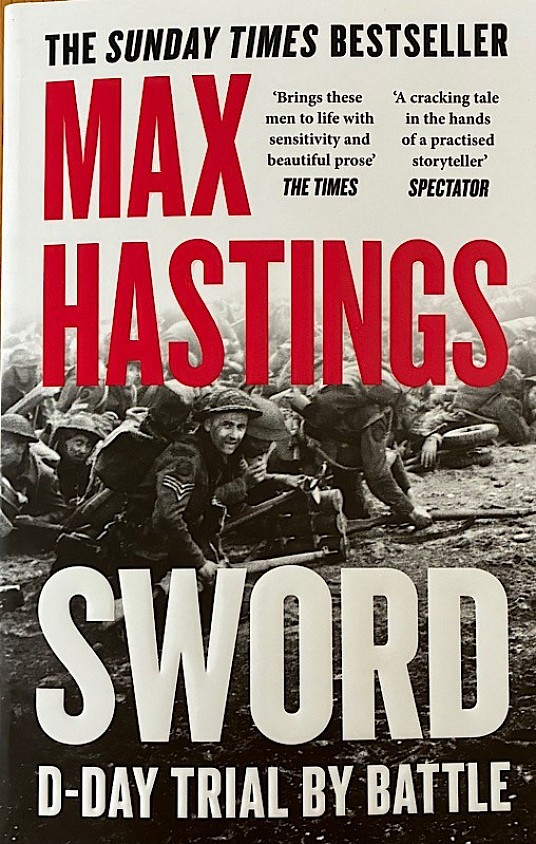
A bit of a bargain
Last year I saw this in signed hardback for around £23 from Waterstones (High Street UK book store). I kept picking it up and putting it down because I had recently bought Fisher's book on the same subject.
To my mind, the Fisher book is a bit more detailed down at the tactical level and I had bought it with a view to doing some scenario design for WWII squad games.
Anyway, the Hastings book is now out in paperback at £11, but the Sainsbury's Supermarket (UK High Street retail) has it on their shelves at £6.
I picked it up as being, in my view, an easier read and more likely to move up the reading queue for a proper cover-to-cover read. I quite like Hastings's writing style.
Test of Resolve (edited)
The hot weather persists with a 50-year record broken yesterday and expected to be broken again today, together with very high humidity, so not much 'real stuff' getting done here.
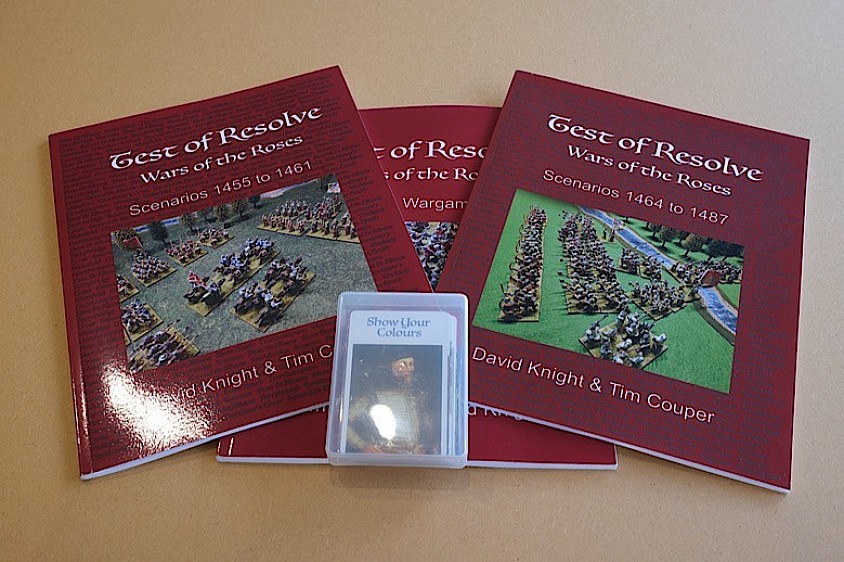
I have taken the opportunity to start reading the Test of Resolve rules, but I dozed off three times, dropping the book and now have some creased pages .... hugely annoying to my wont of keeping things pristine!
I was not finding them the clearest of reads in places, but then came across several pages of definitions at the rear of the book and that certainly helped.
Containing some innovation, I think they will benefit from just running an example slice of a game and working through the process, which in fact is what scenario 1 is intended to do.
Interestingly, the rules were reviewed by Little Wars TV two years ago and overall they recommended the rules, but had a sticking point with the presentation, citing no index and it being hard to look up individual points.
They also talked about the cards being printed in the rear of the book, but they are not there now. I checked the info panel and see that my version is v1.1 and I wonder whether following the comments of Little Wars TV, the cards were removed and replaced by the pages of 'definitions'. That would make sense.
I am though really glad that I met the authors at the game show and sat at their demo table to go through some of the processes. The game does not appear at all difficult, but some sections need double reading to be clear to author intent.
I am liking what I see and will keep on top of this, with the weather starting to break tomorrow and the grandkids visiting, I may get a chance to throw some dice on Sunday going into Monday.
