Dear Diary - a rolling 4 months of comment
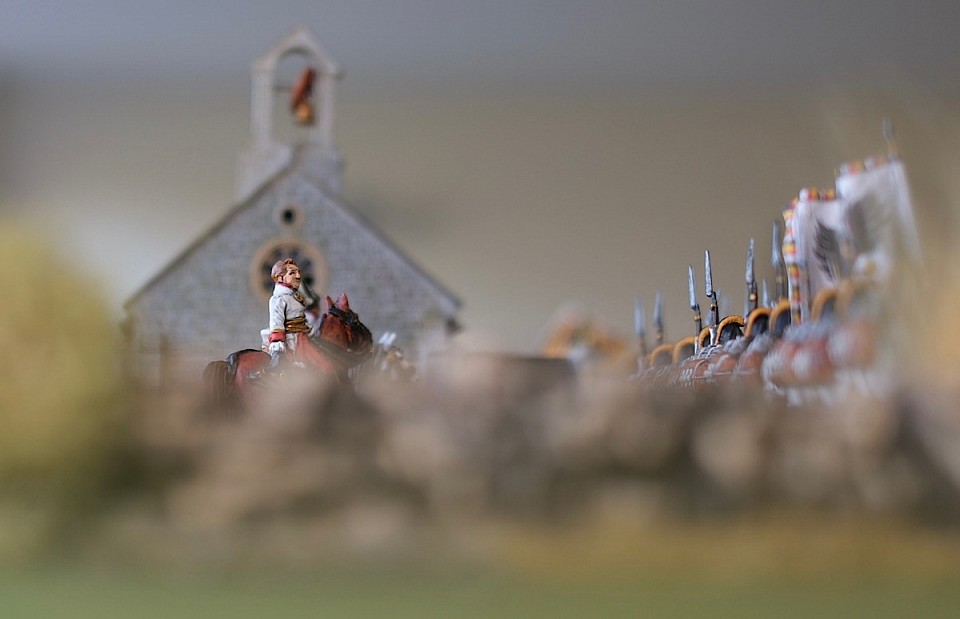
Above - by Bogdan Willewalde 1818 - 1903
This wonderful painting of Blücher and Cossacks at Bautzen 1813, adorns the rule books of Operational Studies Group (OSG) series on Napoleonic battles, referred to as The Library of Napoleonic Battles.
I am just diving into Volume X, Napoleon's Wheel, covering the Danube Campaign 1805, giving us the battles of Haslach, Elchingen, Dürnstein, Schoengrabern and of course Austerlitz.
I shall initially focus on Schoengrabern for two reasons. Firstly, it is a very small contained action, lasting just 5 turns, making it ideal for me getting back into the series.
Secondly, it has parallels to the figures campaign that I have just concluded. It is a rearguard action and I want to compare them. Plus it uses the same map that I used to take the situation from to create my figures game, the difference being that I was using the 1809 narrative for the fighting in the same area, while this is set in 1805, but just a few miles away from the locations in my campaign game and using a similar premise of a French army in pursuit of a defeated Russian army.
Anyway, I am reading rules and cutting counters and of course nodding off between rule sections! so this should get to the table soon.
Off the painting corks and into barracks!
I am trying to meet my pledge of 400 painting points for the winter Analogue Hobby Painting Challenge, which will end on 21st March ...... I am falling behind and now trying to play catch-up!
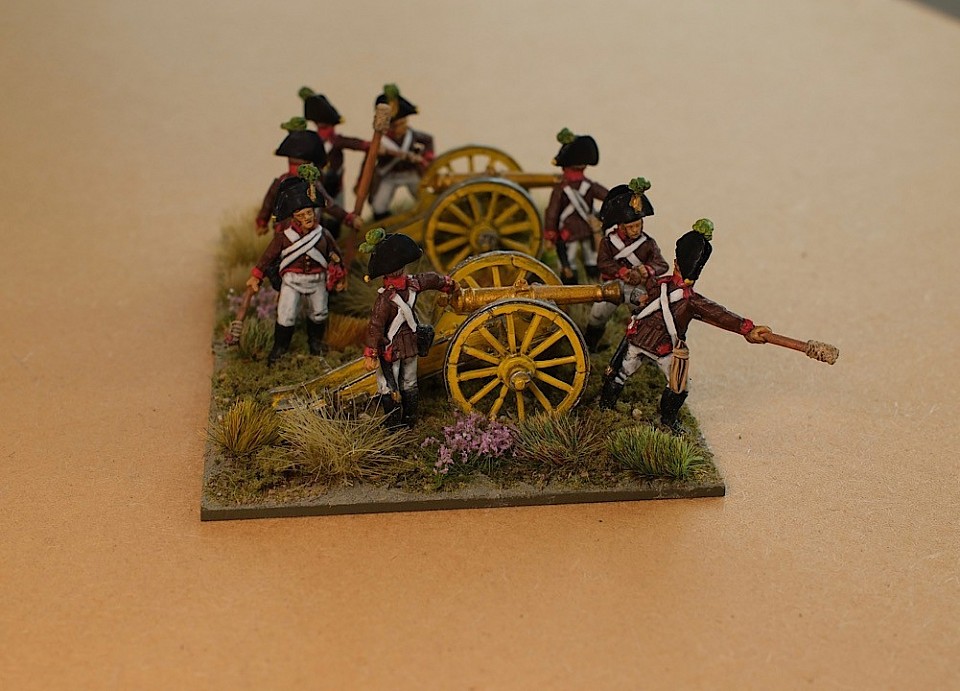
At the weekend I submitted this Austrian Napoleonic gun battery, which is worth 60 points and takes me up to 290 points painted so far ..... another 110 points are needed before the deadline and I have a holiday coming up that will put an extra squeeze on hitting the goal, but I am still painting daily to try and get it done.
Even if I miss the target by a few days, the whole thing will have been a success because it will have made me bring another four units to the Austrian 'pocket army' and that will certainly increase its utility (plus I paid for a further infantry unit to be commission painted (see below) and that has arrived).
My Austrian force now has two gun batteries (4 gun models with crew), which matches what my French force has.
The attack on the farm - are we reaching the end of the campaign?
It is now 3 PM and the French are about to launch an assault on the Farm.
This is the last defensible position that the Austrian rearguard can rely upon. Will they be able to hold it long enough for their reinforcement to come to their assisance?
LINK
https://battlefieldswarriors.blogspot.com/2026/03/attacking-kis-megyer-farm-3-pm-1809.html
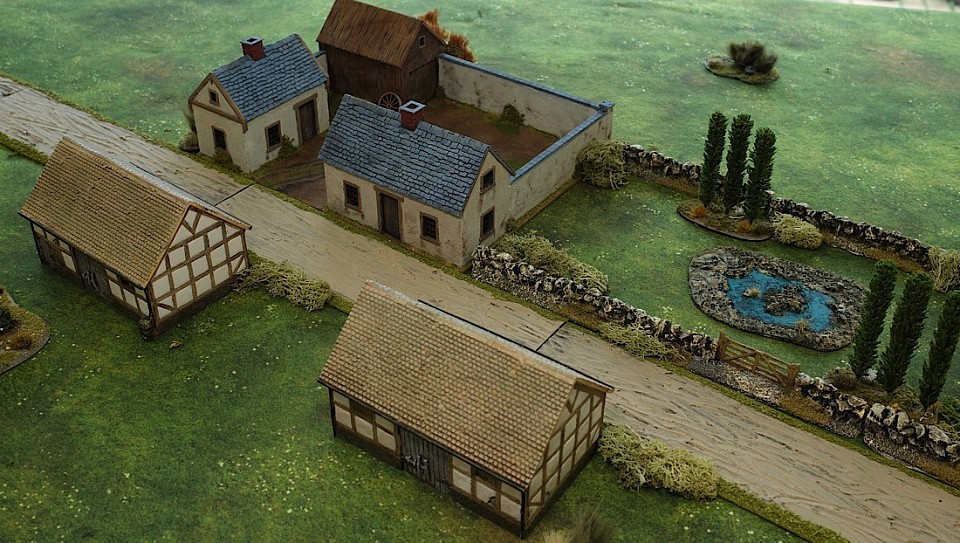
The table is set for the next campaign action.
Well, that says it all really. We will be fighting up at the farm, the last defensible position available to the Austrians. The Austrian defence is dangerously thin on the ground and the French force looks overwhelming, but they are carrying a lot of casualties and cohesion loss, with several units already unsteady - so this is a significant force .... but a brittle one!
The Austrians need to hold out for 7 turns, easier said than done, but at that time, the next campaign turn starts (4 PM) and the Austrian cavalry from the upper ford will be arriving on the table - not that they bring any certainty, but it just gives the Austrians another chance to gain the upper hand and fend off the French.
Another small joy through the letter box.
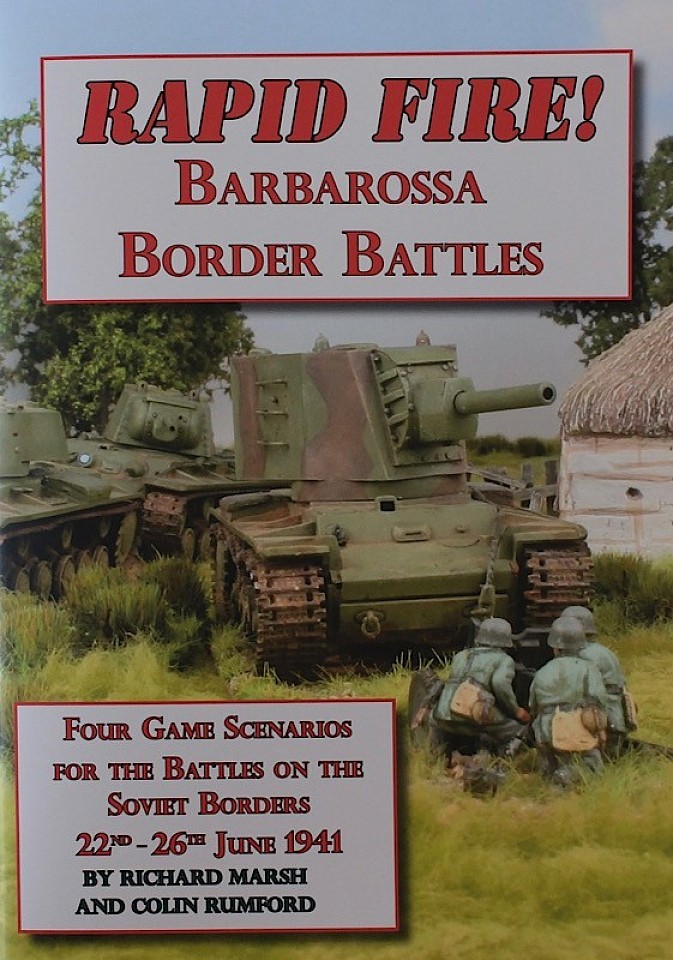
Just released, part of the continuing range of A5 booklets in the Rapid Fire Reloaded series. This one covers four actions on the east front 22nd - 26 June 1941, so we are talking about the opening stages of Barbarossa.
This is a full colour 40 page booklet, with all four actions designed to work on a 6x4 table. The front / back cover of this booklet seems to be of a lighter material than earlier booklets, which used something nearer to cardstock and that’s a shame, I like the heavier cover, though I do like their move to using cover artwork that has been taken directly from the table.
Rapid Fire is designed to play at a higher level with 1 tank model equating to a 5 tank platoon and 8 infantry models equating to a company - so a battalion of infantry, with typically 3 companies would be represented with 24 men plus supports, though in truth, the game can feel and look more tactical than that, so it is a very flexible system.
The battles covered here are tank heavy engagements, so scales for this particular booklet have been adjusted accordingly, for example in the Liuboml scenario, an infantry figure represents 45 men, rather than the usual 15, in what they call their divisional scaling and villages are represented by 1 building.
Its really just bathtubbing and theming to make it work without the 'feel' changing - good!
The four battles covered are;
Alytus - Battle for the bridges
Liuboml - The Town of Death
Raseiniai - The dreadnoughts
Leshniv - Flank Attack
One would need fairly solid collections for some of the scenarios, for example the first scenario uses eight BT-7 models, though in my gaming using other vehicles / units as proxy has never offended my eye.
I have got a couple of solid tactical level boardgames covering East Front ‘41, so I might consider converting some of these scenarios for the boardgame, or indeed, do a terrain’d table, but use counters from the game to get a better proximation of forces.
Either way, I add 'Barbarossa - Border Battles' to my collection of these small booklets and just that ownership brings its own pleasures.
Campaign fighting reaches the church
This is an inportant campaign turn. For the Austrian rearguard to now be able to block the French advance, they desperately need to concentrate their forces at the Kis-Megyer Farm and to give the time for that to happen, Austrian troops at the church must hold their positions for as long as possible ..... but the French are about to resume their assault.
Can the Austrian depleted regiments hold out?
Link
https://battlefieldswarriors.blogspot.com/2026/02/fighting-at-church-pursuit-of-vi-corps.html
A treat
Last year, I sent a commission to the Painting Den painting service for 8 Austrian mounted dragoons to be painted.
In early January, Mark from Painting Den sent out a customer offer of 25% sale on painting prices.... and so here we are!
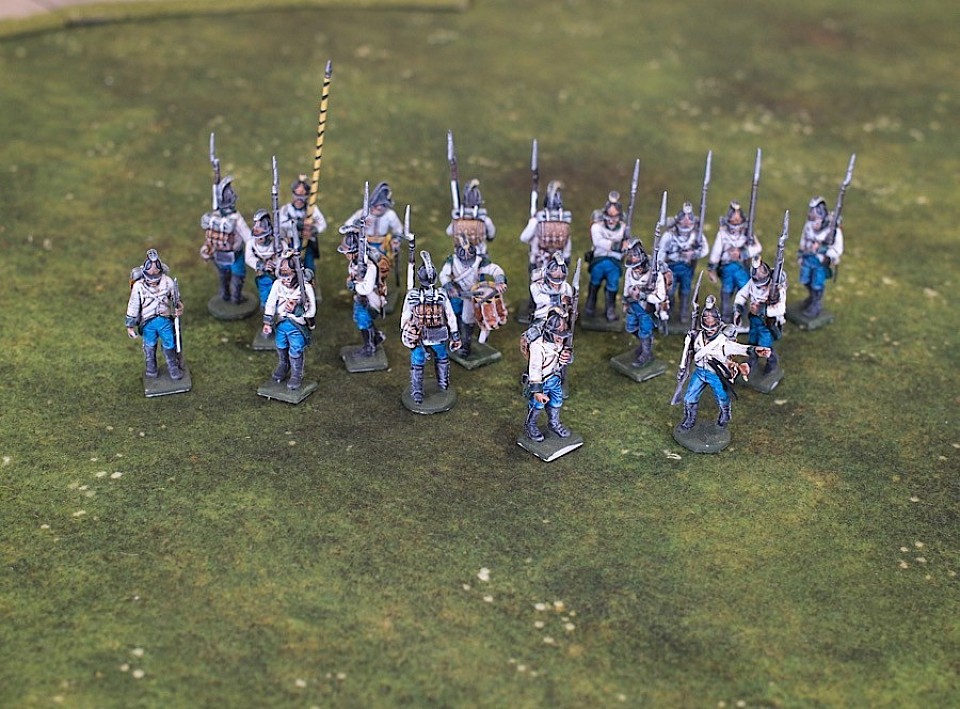
Arriving today are 20 x 28mm Perry Austrians, painted up in the colours of the 60th Austrian Hungarian Regiment.
Between these and what I have been doing in the Analogue Hobby Painting Challenge, my Austrian forces have at last caught up with the number of units that are in my Napoleonic French army.
These chaps are off to the flagging and basing department now.
