Dear Diary - a rolling 4 months of comment
Playing Marengo
I have spent the last couple of days looking at the Marengo (1800) battle from the Napoleon at War game quad.
It has an old school charm, while being updated with rather nice graphics.
The rules are very similar to the Blue & Gray quad (ACW) and essentially your turn is just one of moving and then fighting without any other sub-phases going on such as command or supply etc.
There is a bit of scripting driving a couple of areas in the scenario to help impart a little of the historical flow of the battle.
I have been working on a blog post that looks at an AAR of the battle and offers some observations on the system and game, so hopefully that should be ready in a day or two with a few pictures. I will put a link here in due course.
Throwing hours at wargaming ... hoorah!
Having taken on vehicles with ASLSK .... I have just passed the tipping point of rule frustration with armour and wanting throwing the thing on the fire :-)
Happily, I think I am now through to the other side and fairly familiar with the processes. It really just needs more play to bring it all increasingly into the arena of being second nature.
I have been really appreciative of a couple of YouTube channels that go through the learning curve with some care - selfless support by the creators, Thank You.
The starter kit series now has its own sort of annual book called Basic Training and I saw an amusing comment from someone on the irony of a starter kit based around easier rules, itself needing a training manual :-)
The Starter Kit rulebook in kit #1 (Infantry) is pretty easy to absorb, especially for anyone previously exposed to the system. Kit #2 (guns) is okay as it adds a 'to hit' process and the nature of HE fire on infantry.
However it is Kit #3 (armour) that has the steepest learning curve, with armour not really sharing much of the infantry mechanics that you have already learned and having all that Motion, Stopped, Bounding Fire, To Kill stuff, set amongst some fairly tight, concise text blocks that can overwhelm the senses.
However, the total starter kit rulebook at this stage has grown from 12 to 32 pages and you just have to say to yourself 'how hard can it be to crack 32 pages'! Plus along the way, the play throws up a ton of nuance and that nuance to the tactical gamer brings its own joy and helps the perseverance.
I just think you have to go with the rules as you understand them at the time, then at the end of a session, go back to the rules and reinforce those areas causing doubt. I know I have played some base concepts wrongly before starting to straighten it out - but really, it doesn't matter in the overall scheme of things.
For the armour learning, I have been setting up a couple of tanks per side and slogging it out - not tactically challenging, but, repeat, repeat, repeat, does start to embed process and procedure.
There are still blanks, but I have reached the point of 'knowing what I don't know' as opposed to 'not knowing what I don't know' and so concentrating my efforts on brushing up on those areas is helping.
This afternoon, the penny was dropping even furthet. I stopped slogging away head on and split two vehicles to go around either side of a building. Their prey was a Sherman 76L on the other side of the building. By approaching from two aspects, the Sherman was compromised, pulled out of position, its turret swinging to engage the enemy, but missing when it fired, while the enemy, calmly, with one shooting into the rear of the Sherman's turned turret (yes it covers that sort of thing) took the Sherman out!
And so I think I get my well earned tankers first medal :-)
In 1985 when full ASL first came out, with its super thick rulebook, I was managing all of this with the Beyond Valour module (East Front) with apparent ease - my grey cells are finding it all a bit harder this time around :-)
But I am getting there and everything has been spared the threat of fire :-)
In the background, I have just cut and clipped the counters to the Napoleon at War game for the Marengo battle and will be browsing the rules tonight. I do hope this one meets expectations, it looks lovely. More soon.
Silence that gun!
The daily interaction with advanced Squad Leader Starter Kit rules continues.
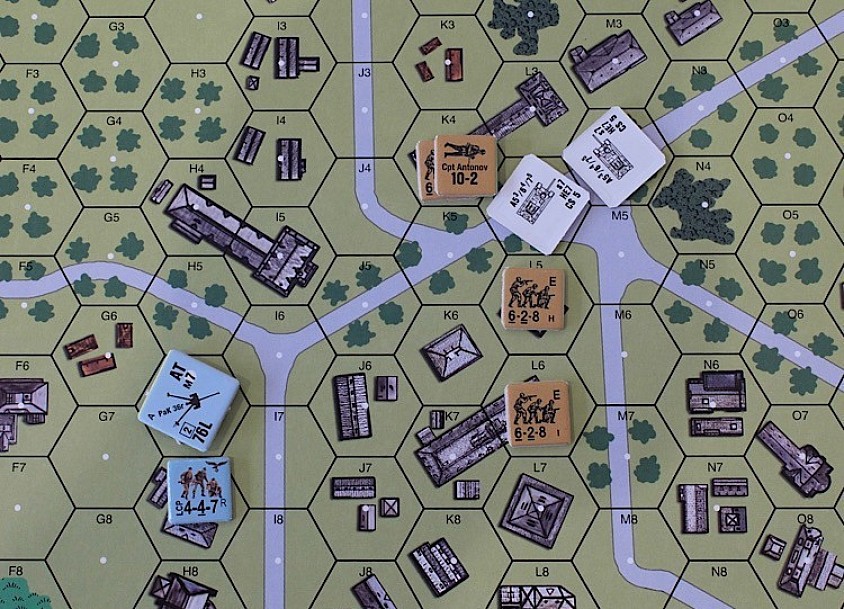
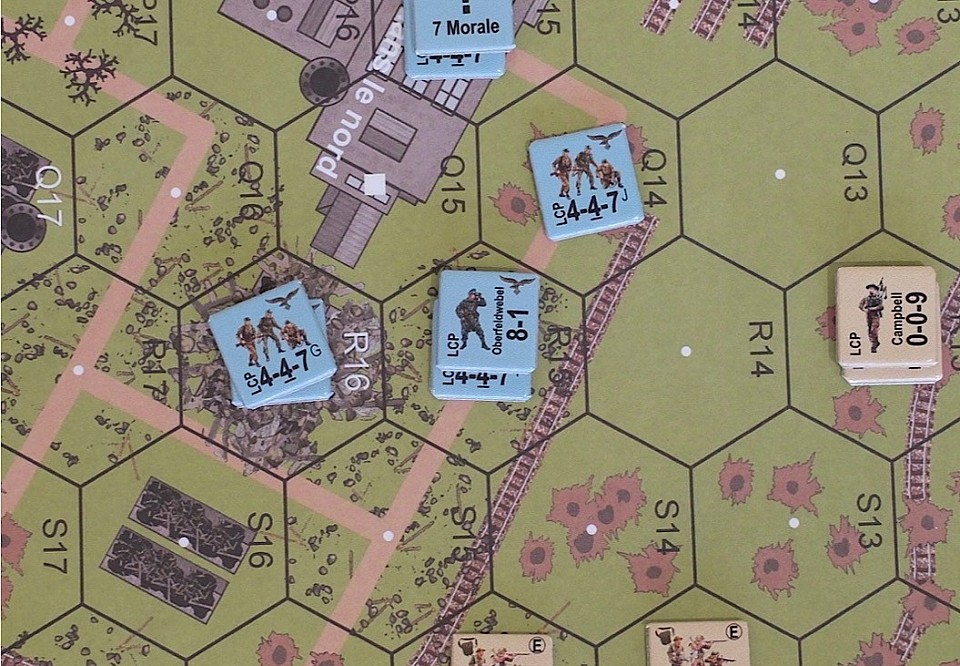
Today I set up a small scene to further embed the 'To Hit' rules for guns in my memory.
We are on the east front. A German 75mm anti-tank gun is positioned in a building with the gun sights going down a tree-lined road. Two Soviet Assault Guns have already been knocked out, so the Soviets send a well-led platoon of submachine gun troops who have been ordered to work their way up the street and remove the gun threat.
The Germans have a lone fallschirmjäger squad protecting the gun.
The Germans rolled badly at every occasion ..... and didn't last long!
Next I will go over some vehicular rules and then the next action that I will put on the table will be like today's game, but with the clock turned back 30 minutes and a pair of S.U. 85's advance up the road, without infantry support ... unaware of the hidden anti-tank gun!
The sensible thing after that will be to combine both scenarios, but giving the Germans a couple more squads. This would be very similar to how the old basic Squad Leader (pre ASL) merged infantry learning with vehicular learning across three scenarios. The system was known as programmed learning.
Rolling back the years
My latest couple of boardgaming purchases made me notice that my game collection is moving towards what we might think of as legacy designs from the 70's. Certainly there is a lot of 70's influence in there.
It's not so much that everything in the lates 70's was good .... it wasn't, but rather there is such breadth to that back catalogue, that we can go back and pull some gems from it.
I thought it was enough of a 'thing' to do a post over at the Battlefields & Warrior Blog on the sort of game that have been morphing my collection.
If nothing else, it gives a 'to do' list of things that I really must get to the table this year.
Link
https://battlefieldswarriors.blogspot.com/2026/05/rolling-back-years.html
Practice, practice, practice!
With the soon-to-be reprinted Advanced Squad Leader Starter Kits on the horizon by MMP, I thought I would start to brush up on my ASLSK rulebook knowledge with bits that I already have.
There is quite a learning curve to the series, but I am familiar with it from previous playing, so I have decided that every day for a month, I will do something with the series, whether that be reading through the rules or knocking a few counters around in different situations—whatever! Just to re-immerse myself in the system and by the time the re-prints come out, I will be up and running and they will make it to the table instead of staying on the shelf!
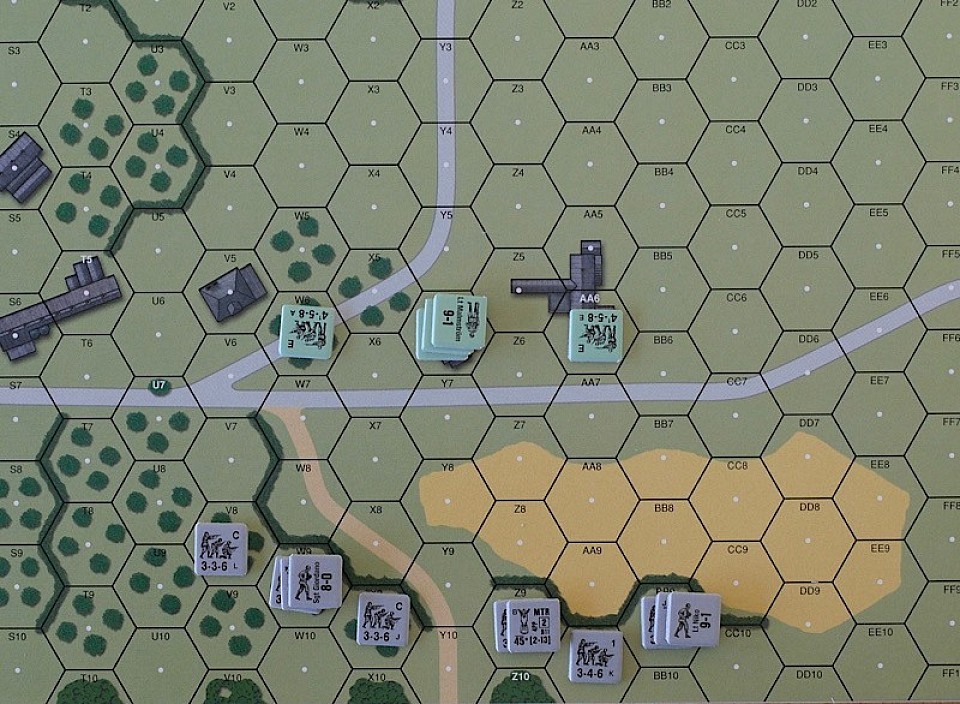
Today I have moved to a very small imagined action in Sicily 1943. Italian forces (grey counters) are putting in an underpowered counter-attack against a platoon of dispersed British glider troops (proxied here by my Allied minors) who are holding buildings at the edge of a village.
In the overall mix are low-quality and high-quality troops, support weapons (MMG, LMG, and light mortar) plus a terrain mix that makes the Italian approach against buildings pretty risky.
Even such a small action touches on plenty of rule areas, and the more interactions I can get, the more second nature things will become.
I felt that by the end of this firefight, I had reconquered the rules on the various defensive fires, but got hung up on smoke and the variations of what happens when Rate of Fire is retained…. So tomorrow will be a rulebook day :-)
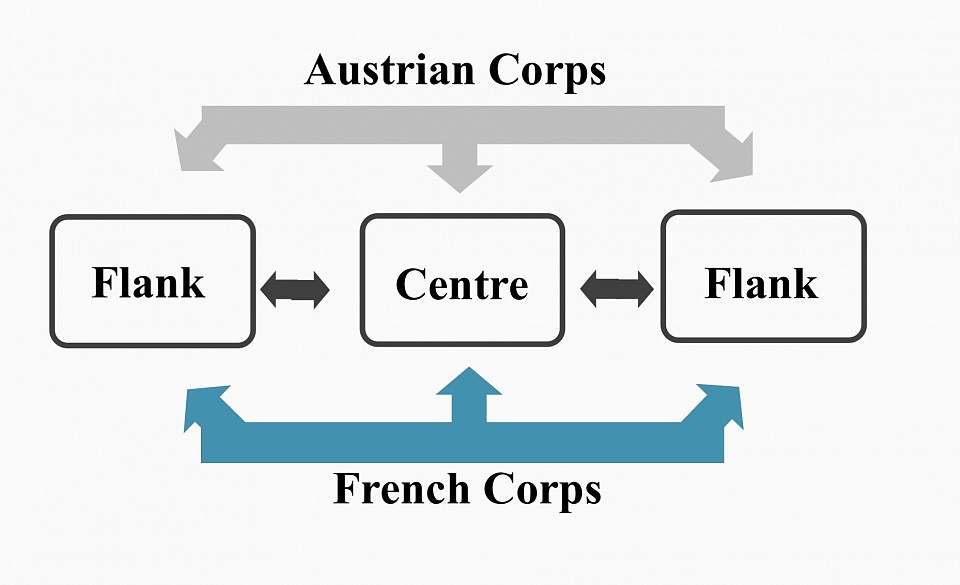
Battle for the Centre

A few posts back, I set out a framework for setting up a three table battle for a corps level action. The first of the three games has now been played.
The scenario engine requires that the battle in the centre is fought first as it may influence what happens in the flanking actions.
There is a write up over on the Battlefields & Warriors Blog, including a plan of the entire three table battlefield.
LINK
https://battlefieldswarriors.blogspot.com/2026/04/battle-for-centre-post-ii.html
Another simple, playable game into the collection.
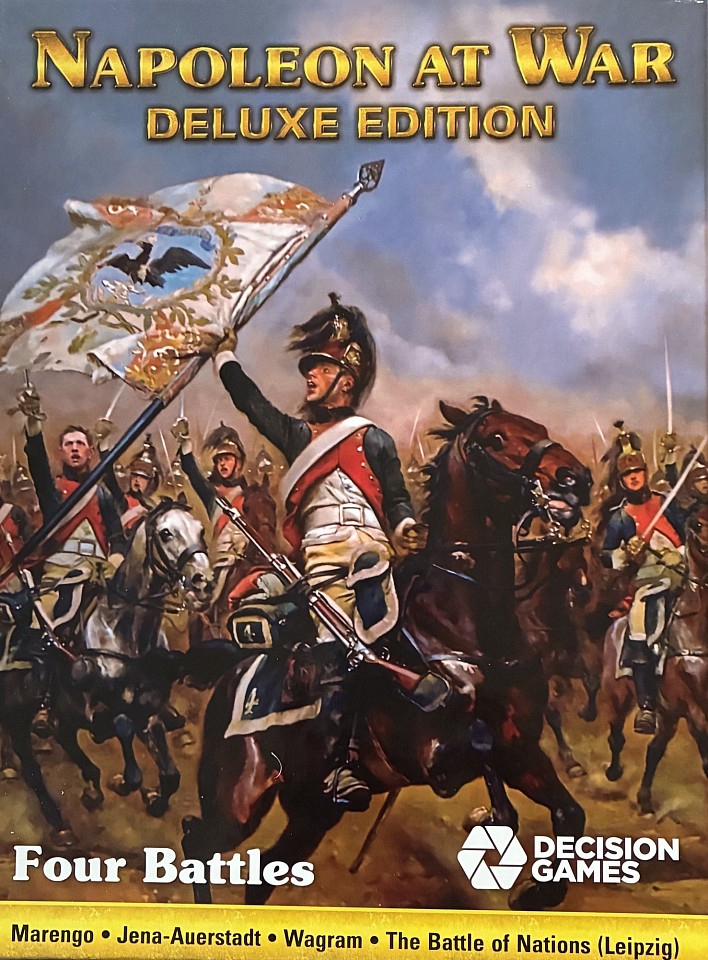
Napoleon at War Quad (Deluxe) by Decision Games, hits UK shores (Second Chance Games).
I have to confess that this is a nostalgia purchase. The quad covers the 4 battles of Marengo, Jena / Auerstadt, Wagram and Leipzig and it appears to be a straight lift from the original SPI system, with errata sorted out.
Hex scale is 437 - 875 yards, playing time 1 - 2 hours, high solitaire and minimal complexity.
As an out of the box experience the game is beautiful and does warrant the deluxe title. Of note is the rulebook (32 pages of which pages 3 - 8 are actual rules). It is NOT on glossy paper, which hugely adds to its appeal, it is sort of old school charm but with a modern presentation. I know modern 'Euro' type rules can look very nicely done, but somehow these feel different ..... more wargamey if that makes any sense.
There is just one page of optional rules, which are very straightforward and rather obvious candidates for me at least to want to include them in play.
The counters are very simple, but attractive and the mounted maps are very attractive, again they have gone for old school simplicity and 'clean' graphics, but with a lovely warmth of colour running through each map. From an out of the box experience, I could not be more delighted.
As for play, I am under no illusion that this is a simple game that scores on ease of play, short playing time and the rules staying in the box and there is a place in both my solo and face-to-face gaming for that.
We are absent of things like Command & Control and keeping formations together. The Sequence of play is simply Combat following Movement. Zones of Control are sticky, so units cannot voluntarily leave an enemy ZOC. Combat is mandatory. Winners of a combat can advance, that includes defenders and there is no stacking. Artillery can bombard from a distance.
The basic engine is so rock solid that if inclined you could easily bring in some house rules.
Having recently bought their Deluxe Blue & Gray and enjoying the play, then I am expecting much the same from this game, some good old school fun wrapped up in a quality presentation. There is a simple joy to just owning it.
Austrian Jäger
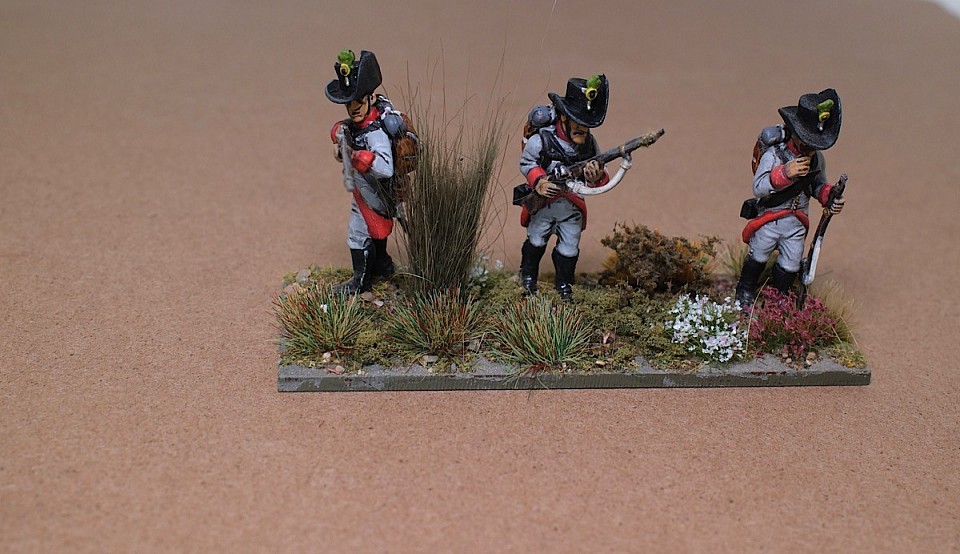
New additions, 28mm Austrian Jägers. This is a group of 9 figures, based in 3's. This basing was a last minute decision, as I was going to base in pairs.
The three table campaign that I am presently running has jägers in one of the flank actions, so their arrival to the collection is timely.
I started them on 5th April and have just plodded with them. Before the winter, I had decided that now that both the Wars of the Roses and Napoleonic 1809 collections were large enough to field a game, that I would just add to them at a slower pace.
That plan got a bit derailed with the Winter Painting Challenge, where I had to up my game to meet the painting goals that I had set. It was very useful as it moved the collection on to a better place, but I really don't want to be painting as a forced activity anymore - so getting back to 'plodding' will be re-instated immediately :-)
There are a couple more photographs over on the blog that show the front and backs of all nine figures.
Link
https://battlefieldswarriors.blogspot.com/2026/04/28mm-austrian-jager.html
The first 10mm roll off the painting desk
A couple of posts back, I mentioned some 10mm from Pendraken arriving and the intention to knock up a small test force to see how basing might work and whether I could pick up painting speed.
I have based and painted the infantry (but already might want to re-base!) and have based up the cavalry, artillery and commander, which I like.
I have put some photos and commentary up on the Battlefields & Warrior Blog if interested.
LINK
https://battlefieldswarriors.blogspot.com/2026/04/gathering-10mm-forces-how-to-base.html
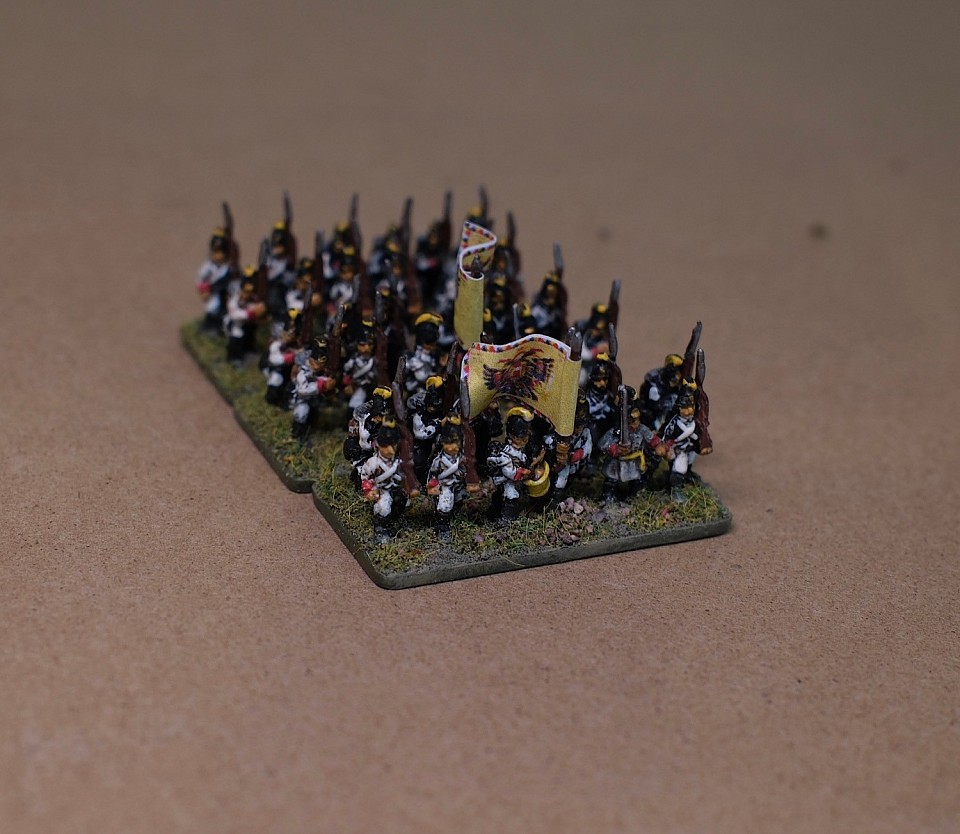
Fighting the first battle
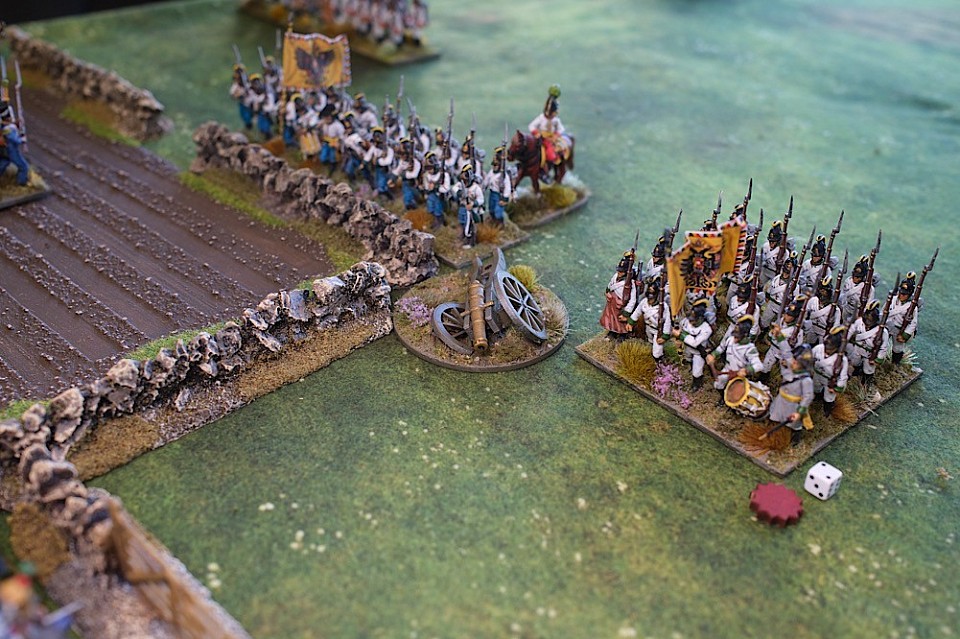
The first battle from the 'three table battle' was played out yesterday. This is the fight for the centre. I am in the process of doing a write-up for that, so will not add too much here.
What was apparent was that considering the scenario was artificially built by the battle creator, it gave a very good game, with some interesting moments arising.
The photo here shows the Austrian 1st Brigade moving down to assault the fields.
Big 3 table battle - not!
I have been working on a corps sized battle, played over 3 tables or rather the same table three times!
The idea is to create a thrown down set of games that are tied in to each other, but with the scenario generator adding a bit of structure while also mixing things up a bit.
Each corps has 3 divisional sized formations and each of those is allocated to one of the three tables. The tables offer the centre and the two flanks / wings of the engagement.
I am setting this in 1809, between French and Austrian forces.
There is a write up with more detail (scenario generator and diagrams) over on the Battlefields & Warrior Blog.
Link
https://battlefieldswarriors.blogspot.com/2026/04/the-three-table-battle-not-part-i.html
A third party ASL module
Advanced Squad Leader (ASL) is a WWII tactical boardgame published by Multi-Man Publications (MMP).
The Steelworks, Colombelles, France, is a historically based ASL module published by Lone Canuck Publishing, who produce quality 3rd party material for the ASL system.
The package includes a very nice 35” x 27” map showing the dominance of the steelworks in the centre. Main features are the steelworks, rail lines, a canal and fields - a mix of ploughed and wheat. A counter sheet with additional units (all marked as LCP) is also included, together with back story, special rules and scenarios.
I bought this in 2019 for £19, I note that Second Chance Games (UK) still sells it and that it is now £25. A universal truth about ASL stuff is that it goes out of print and I think this is a module that is worth grabbing while still available (it is also showing available on Canuck's site).
Colombelles is an industrial town northeast of Caen, with a large steel factory and importantly, very tall chimney stacks that dominated the landscape, giving the Germans significant observing positions.
So began ‘Operation Stack’, the Allied attack to deny these structures to the Germans.
Our module gives us five scenarios, covering actions involving both British and Canadians, between 11th July and 17th July 1944. There is plenty to delve into here. The map is particularly attractive and is reminiscent of the East front ASL modules such as The Factories and if you want a map that does this sort of ruinous cityscape, then this seems to be a good price to get something similar.
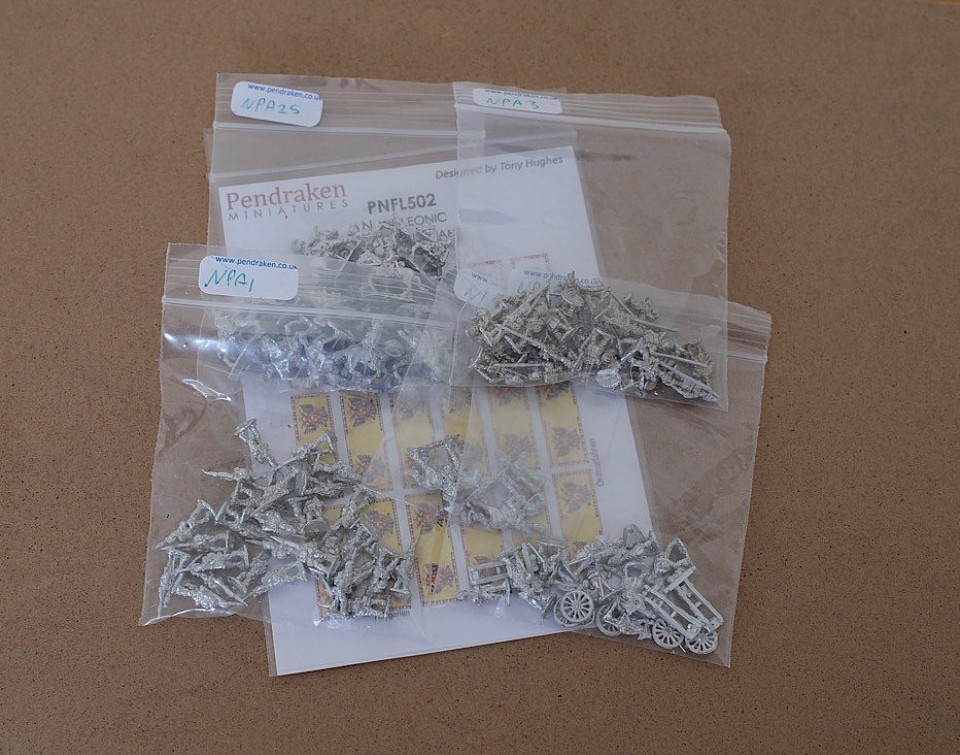
The 10mm have arrived
The Pendraken figures mentioned below have arrived. I have taken one bag each of Austrian infantry, line command, heavy cavalry, artillery and a couple of formation leaders, plus a sheet of flags for the infantry unit.
I'm thinking of this as being a bit of a back burner project for now, but the first thing to do is to work out what sort of basing I want.
Should a line infantry unit be multi-based, so that I can show differing formations such as line and attack column? I think so, because I only want a handful of units per side, so bringing things down to the tactical level will be for the best.
I have some Kallistra 40 x 20mm plastic bases. Once the figures are cleaned up, I will see how many line infantry (2 ranks) I can put on one base. I am looking for things to be shoulder to shoulder.
For artillery, perhaps all three guns can be deployed out on a single 80mm MDF base, or a 60mm plastic base and just see which looks best.
Cavalry, hmnn, not sure. I am thinking of a single base, roughly 2 ranks deep, but not in straight lines, so they look like they are in motion. There are 15 horses in a pack, so accepting that each rank will have 7 horses, I will see what size base looks right with that.
More to follow!
Revenue, Spend and Changes
For the UK, 6th April is the beginning of the tax year. Starting last year, Inland Revenue allowed people to continue selling on platforms like E-Bay and Etsy freely, but anything that accrued sales over £1000 would be subject to tax and the seller would be sent self-assessment forms from the tax people.
The various platforms are now obliged to submit client sales figures to the Inland Revenue and that of course will include PayPal receipts. I can’t actually work out how much of selling your old things like clothes or say a loft clearance can avoid the tax, however someone like me, who only sells wargame-related things, can easily look like a trader and my understanding is that the ceiling will kick in straight away.
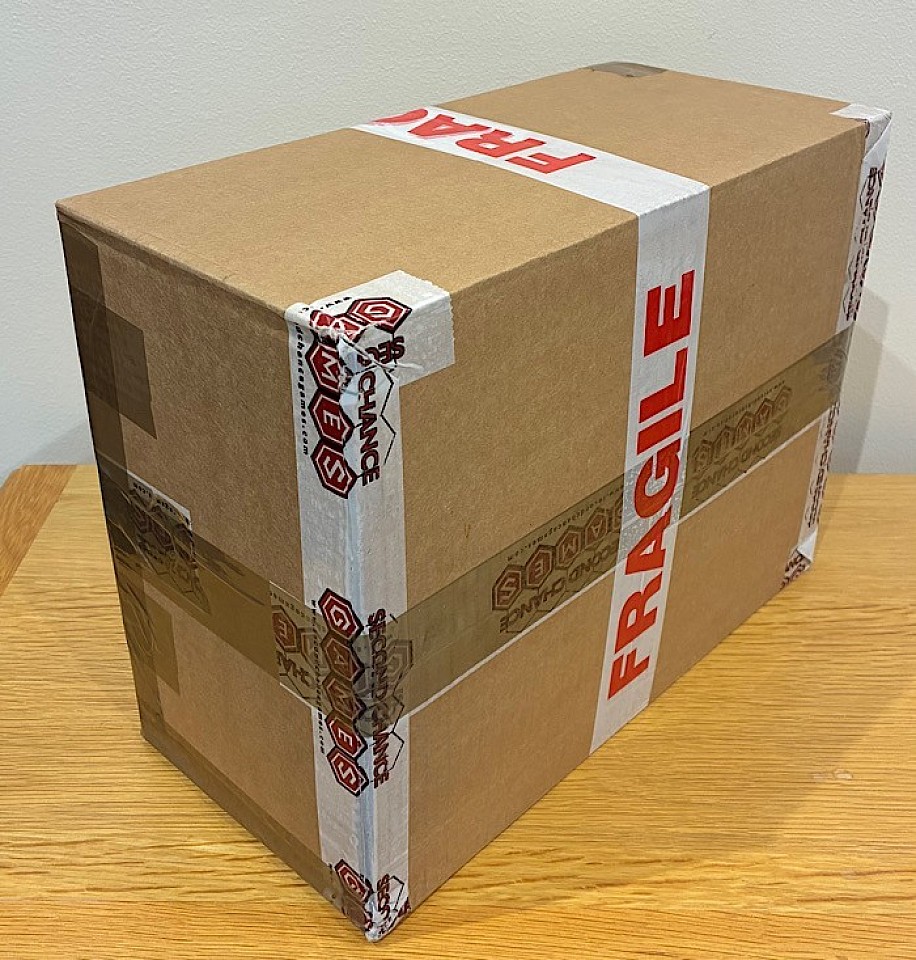
The past few weeks have been a bit costly with various pre-orders and purchases, so it is nice to have reached a new tax year, with my allowance zeroed and seeing something going out of the collection to bring some funds in (above parcel).
The collection is a bit of a living thing with regular tweaks and nudges to keep it current with whatever fad I am going through, but playability, streamlining and an eye to storage are generally constant themes and now, increasingly, persistent back and leg pain problems are also taking their part in tailoring what sits on the shelves.
Two mapper-type board games become an easy target, as not only do they generally require a lot of bending and stretching across, but by their nature (bigger), they take longer to play, adding to the amount of time spent bending and stretching etc.
I generally sit at the dining table to play 1 mapper and smaller boardgames, while figures and larger boardgames are taken to a higher table that is 40” off the floor, at which I stand and it is the prolonged standing that exacerbates my back and leg pain. So bringing more games back to the dining table makes sense and the games at the other table need to be shorter games for less standing.
I was recently having correspondence with another gamer regarding this sort of thing (Hi S) and he felt that the smaller affairs such as Neil Thomas-sized games are looking increasingly attractive compared to trying to re-create full battle games. I entirely concur. I have plenty of boardgames that can cover the ‘big battle’ and so I am happy for my figures to be doing something different and I seem to favour the divisional-sized game and lower for them.
Why mention this? Well for a while, I have been dithering about getting a smaller scale army for smaller games to take to the dining table (for a 4’ x 2’ mat). I like the idea of the Epic figures, where you get lots of ‘heads’ in the unit, but I don’t like their formulaic method of ranking up in shoulder-to-shoulder strips, where it looks like each figure is welded to their neighbour …. So I have ordered some Pendraken 10mm, just enough to do an infantry unit, a cavalry unit and a gun battery, so that I can look at the practicality and result of basing the figures up tight, but lose that ‘welded’ look.
I want to get off the treadmill of painting, so buying into yet another project has me wary, but I plan to base them, then spray black primer, a quick light dry brush around the outer facings and exposed areas, then just dabbing on colours where the brush can quickly reach, which will mostly be on the front of the unit and rear of the unit, everything else stays black.
It will be a bit rough and ready and I know, initially at least, I will not be happy with that, but it might be time to get over it and it is radical enough (for me) to make a break on how I do stuff. The figures have been dispatched, but already, as I paint a group of 28mm Austrian Jägers, I am cooling on the idea - we shall see. Also I really don’t want to get the smaller lads and end up with project creep with more units and bigger games, that would totally defeat the purpose.
As for the boardgames, I thought that I had pretty much nailed that, but it too has an appointment with Mr. Change!
Anyway the point is that my collection is frequently in a state of flux and that as things leave the collection, this site regularly gets a little weeding, that totally strips out the stuff that has gone, so that the content stays relevant to what is actually going on and keeps me true.
The size of both figure and boardgame collections are kept quite tight and concise, so things generally have to earn their place to stay and by that I mean have a reasonable prospect of getting to the table. A few things might get kept just for the pleasure of owning them, but with storage at a premium, not many things will find ‘favours’ granted to them :-)
Anyway, a word to the wise, if you are planning to clear out the collection, in the UK, it might be better to space this over a number of years than doing it in one go, if the tax implication bothers you.
